
If you've ever dreamt associated with creating your own individual wellness retreat in home, an infrared sauna might just be the perfect addition. With home heat therapy , including detoxification, stress relief, and relaxation, infrared saunas have gained popularity being an ideal solution with regard to self-care enthusiasts. Nevertheless why settle for a pre-built unit when you can embark about an exciting DIY journey? Building your infrared sauna permits you to customize every factor to fit your preferences, area, and budget.
In this ultimate guide, we all will walk you through the step-by-step practice of building a DIY infrared sauna from scratch or using readily available products. Whether you're a seasoned DIYer or perhaps a beginner seeking to explore a brand new project, we can cover all you need to know before you start, from supplies and costs in order to safety tips and servicing. Get ready to remodel your home and create a personal beauty that supports your own health and wellbeing goals.
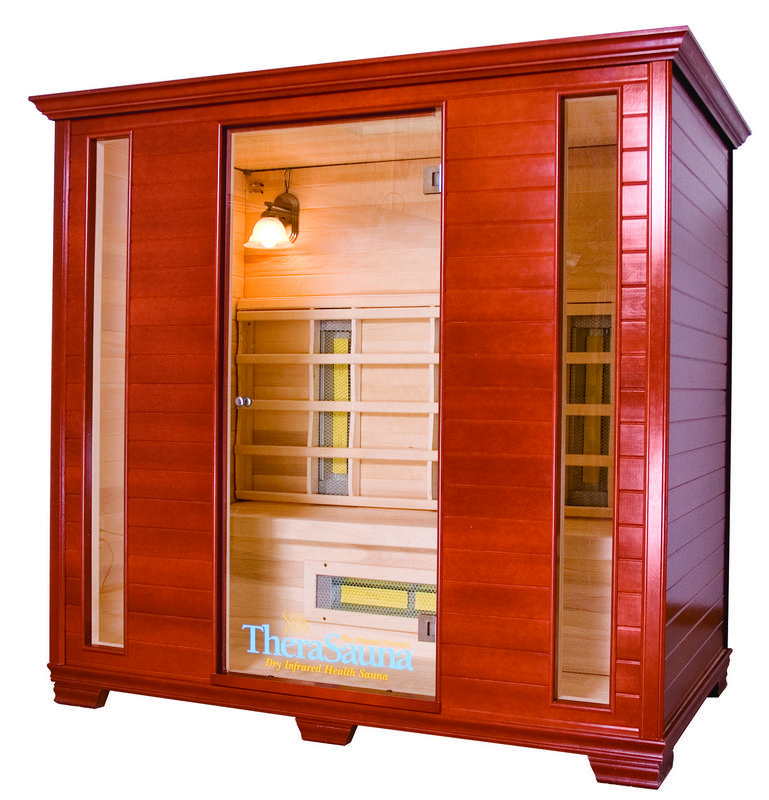
Essential Pieces of a DIY Infrared Sauna
Developing a DIY infrared sauna requires careful consideration of several essential components to ensure both functionality and comfort. The major elements include infrared heating panels, the suitable structure, and insulation. Infrared panels are essential as they emit typically the heat that gives the soothing expertise related to infrared saunas. You can choose between carbon plus honeywell heaters, each supplying distinct heating advantages. Selecting panels that are energy-efficient and even emit a variety of infrared wavelengths will improve your sauna knowledge.
Typically the structure of your sauna can be made from various materials, including wood, which is frequently used because of its visual appeal and thermal insulation properties. Cedar, hemlock, and this tree are popular wood selections as they are resilient to moisture and even decay. When planning your sauna design, ensure there’s adequate space for benches, easy entry, and ventilation. A practical structure will not only improve comfort and also enhance air circulation, causing a better general experience.
Insulation is a great often-overlooked aspect of developing your own infrared sauna. Proper efficiency helps retain heat and improves power efficiency, allowing with regard to a far more consistent heat. Materials such while fiberglass or polyurethane foam boards could be incorporated into the surfaces and ceiling to achieve optimal padding. Additionally, sealing any gaps or cracks will prevent heat loss, ensuring of which your DIY sauna remains warm plus inviting, while also reducing operational costs.
Step by step Construction Process
To commence the construction of your DIY infrared sauna, first, choose a new suitable space throughout your home. Calculate the area to look for the size of the sauna; a popular size is 4x6 feet, which can comfortably fit one to two men and women. Next, gather your own materials, including wood for the composition, infrared heating panels, insulation, and the door. Popular choices for the real wood include cedar or even pine due to their resistance to humidity and pleasant smell. Ensure you also have all necessary tools on hand, this kind of as a saw, drill, and electric screwdriver.
When you have your materials set, start by creating the frame involving your sauna. Employ the wooden panels to create typically the walls and ceiling, paying attention in order to the insulation in order to maintain heat productivity. Cut and attach the insulation boards inside the wall surfaces before securing the outer layer. Make positive to leave space for the entrance and any windows if desired. Following the frame is complete, install the infrared heating panels on the interior walls, ensuring they are equally spaced for optimal heat distribution.
Finally, concentrate on the finish touches to make a cozy and inviting environment. Install CertifiedSaunas to help retain heat, and consider adding benches created from the equivalent wood employed for the sauna’s structure. Hook up the infrared energy to an energy source, ensuring an individual follow all protection guidelines. If preferred, enhance the experience with some lighting, a sound system, or aromatherapy elements. Designing these steps will give you a fully functioning DIY infrared sauna to relish at home.
Health Positive aspects and Maintenance Tips
Building your own infrared sauna offers numerous health benefits that boost your overall wellness. Regular using an infrared sauna can market detoxification by being able to help your body eliminate toxins through sweat. Moreover, it could improve blood flow, relieve muscle plus joint pain, and promote relaxation, which may reduce stress levels and enhance emotional clarity. Studies suggest that infrared sauna therapy can in addition assist in skin health by improving flow and promoting the youthful appearance.
To assure your DIY infrared sauna remains effective and safe, proper maintenance is imperative. Regularly brush your internal surfaces to prevent the buildup of microorganisms and mold. This is also essential to take care of the infrared panels by checking for virtually any clues of damage in addition to ensuring they will be functioning correctly. When the sauna will be used frequently, take into account performing a much deeper clean every couple of months and inspect the particular electrical components to ensure these are safe and free of moisture.
Last but not least, creating the perfect experience in your infrared sauna can enhance its health benefits. Consider combining elements for example alternative medicine with essential herbal oils or calming audio to promote relaxation. Always ensure adequate ventilation to preserve a comfortable atmosphere. Simply by taking these upkeep tips into consideration, you can enjoy some sort of durable, effective, and rejuvenating DIY infrared sauna for years to come.